 Shared Web Hosting
Simple, secure, and reliable cloud hosting
Shared Web Hosting
Simple, secure, and reliable cloud hosting
 Semi-Dedicated Cloud Hosting
Higher power & more resources
Semi-Dedicated Cloud Hosting
Higher power & more resources
 Reseller Cloud Web Hosting
White label & fully customizable
Reseller Cloud Web Hosting
White label & fully customizable
All shared, cloud web hosting, semi-dedicated, and reseller plans support the LiteSpeed Cache for WordPress (LSCWP) plugin at no additional cost. This plugin drastically improves performance of WordPress installations in our environments. In addition to our systems automatically attempting to optimize your sites with caching you can also manually enable, disable, and flag (block) installations for LiteSpeed Cache for WordPress.
To enable LiteSpeed Cache for WordPress:
- Login to cPanel for your account.
- Using the search form and look for the "LiteSpeed Web Cache Manager" interface and click the icon which shows up:

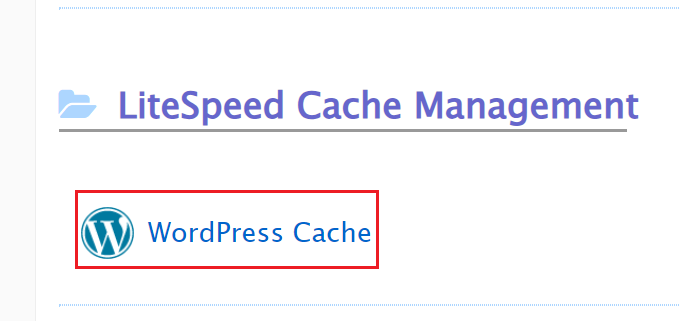
- From the LiteSpeed Web Cache Manager interface select the "WordPress Cache" link under the "LiteSpeed Cache Management" menu:
- From the WordPress Cache page, select the "Scan" button to detect all your accounts current WordPress installations:
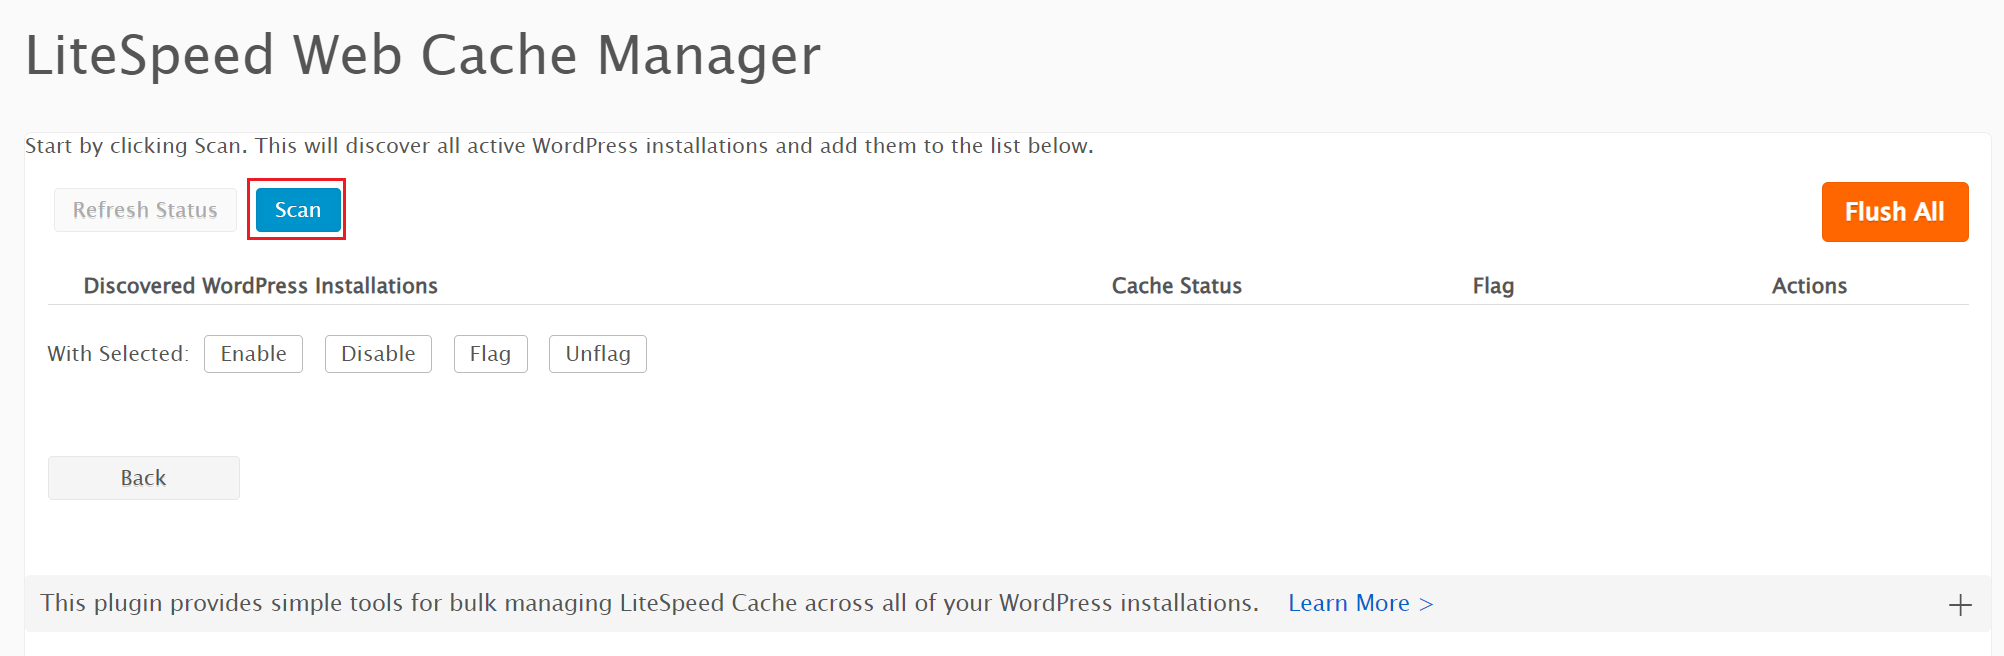
- Once the scan completes your WordPress installations will appear under the "Discovered WordPress Installations" menu. To the right of your installation(s) is an option to "Enable", click that to enable/install LiteSpeed Cache on your WordPress installation:

- The Cache Status will changed from "Disabled" to "Enabled". Litespeed Cache is now in use on your site:

To disable LiteSpeed Cache for WordPress:
- Login to cPanel for your account.
- Using the search form and look for the "LiteSpeed Web Cache Manager" interface and click the icon which shows up:

- From the LiteSpeed Web Cache Manager interface select the "WordPress Cache" link under the "LiteSpeed Cache Management" menu:

- Your existing WordPress installations with Enabled cache will be listed. To disable cache, click the "Disable" link on the right side under the "Actions" menu for your installation:

- The Cache Status will changed from "Enabled" to "Disabled". Litespeed Cache is no longer in use on your site:

To flag (block) LiteSpeed cache for WordPress:
- Login to cPanel for your account.
- Using the search form and look for the "LiteSpeed Web Cache Manager" interface and click the icon which shows up:

- From the LiteSpeed Web Cache Manager interface select the "WordPress Cache" link under the "LiteSpeed Cache Management" menu:

- Make sure the Cache Status is disabled for the installation(s) you're trying to flag (block).
- To flag (block) LiteSpeed cache to prevent future installations, click the "Flag" link on the right side under the "Actions" menu for your installation:

- The Flag icon will appear under the menu. This installation will now be excluded from any future LiteSpeed Cache installation attempts until the Flag is removed: